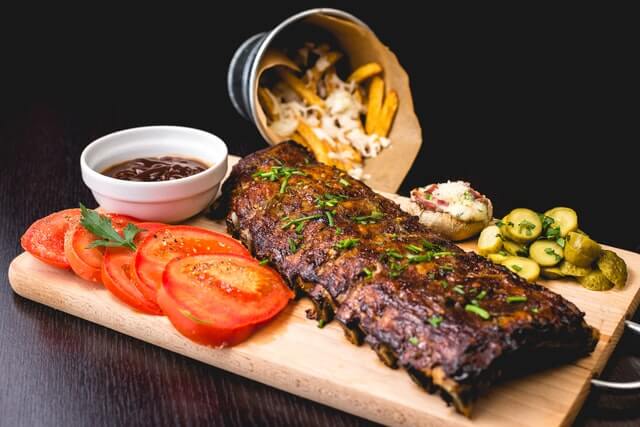
The Best Yakitori Grills for Delicious Grilled Meals
Find out the five best yakitori grills and their reviews which are authentic traditional Japanese grills.
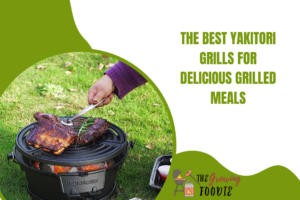
The Best Grill Brushes for Perfectly Clean Grills
Find out the best grill brushes at affordable prices which will keep your grill clean and hygienic.
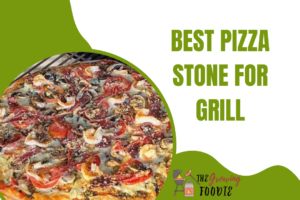
The Best Pizza Stone for Grill: Reviews and Buying Guide
Everyone loves to eat a pizza. In fact, it is one of the most popular sold fast-food worldwide. But do you know what is the best pizza stone for grill available? Find it here.
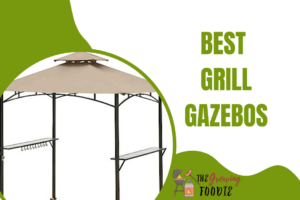
The Best Grill Gazebos To Enjoy Outdoor Grilling in 2023
Find out the best grill gazebos and choose the one that best suits you after reading our expert reviews.
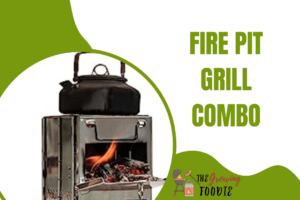
Discover the Perfect Fire Pit Grill Combo for Your Outdoor Space
Find the best fire pit grill combo rigs with our expert reviews on the products.

The Best Grill Basket for Delicious Barbecue Meals
Are you looking for the best grill basket? Read the experts’ reviews and choose the best for yourself.
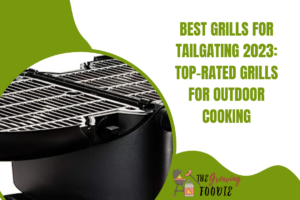
Best Grills for Tailgating 2023: Top-Rated Grills for Outdoor Cooking
Almost every serious griller would’ve attended a tailgating event where a group of BBQ enthusiasts come together and grill food at the back of their

The Ultimate Nomad Grill Review – Find Out What Makes It So Special!
Indeed, grilled food is the heart of any party. Nomad grill review tells you what makes it so special in having it. Reading further you shall know more.
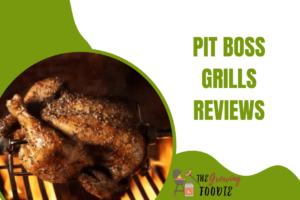
Best Pit Boss Grills Reviews 2023: Find the Perfect Grill for Your BBQ Needs
Pit boss is a leading manufacturer of value-engineering of technologically innovative products including grills such as wood pellet grills, gas grills, charcoal grills, combination fuel
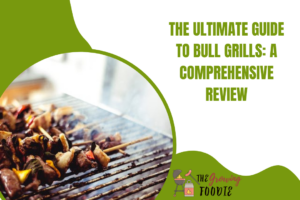
The Ultimate Guide to Bull Grills: A Comprehensive Review
Bull grills have been around for a long time and continue to provide top-quality products. All their grills are durable and strong. Their products are reasonably
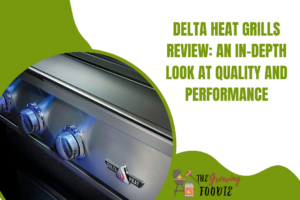
Delta Heat Grills Review: An In-Depth Look at Quality and Performance
Are you a barbecue lover? After reading the delta heat grills review article, you can make a final decision by removing all the confusion. If you want

Camp Chef Woodwind 36 Review – An In-Depth Look at This High Quality Grill
In the world of smokers, the camp chef woodwind 36-inch smoker and grill is a top-notch smoker with numerous benefits and the finest quality. Nowadays,
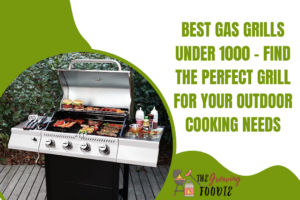
Best Gas Grills Under 1000 – Find the Perfect Grill for Your Outdoor Cooking Needs
Finding out your ideal type of gas grill can be a tough task. And tougher than it is finding out your perfect type of best

Top 10 Best Grills Under 500 – Get the Best Value for Your Money
Tell me, who doesn’t enjoy grilling? Despite the oppressive heat during summers or in freezing winters, everyone wants barbecues since they are a great way

Best Gas Grills Under 500 – Discover the Top Rated Grills for Your Budget
Gas grills have become less dirty than charcoal grills, as well as they allow you to learn how to cook in seconds rather than just
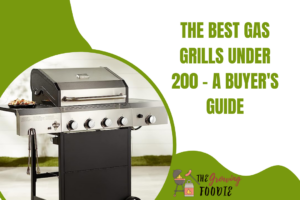
The Best Gas Grills Under 200 – A Buyer’s Guide
Grills that use gas as a fuel source for cooking/grilling food are called gas grills. Read on to find out about the best gas grills
The Best Gas Grills Under 300 – Reviews & Buyer’s Guide
Having a barbeque in the garden is among the greatest joys and tons of fun. Whether it is with family or friends, having a gas
Grilling vs Broiling: The Ultimate Showdown of Cooking Techniques
Grilling and broiling are two different cooking methods to get cooked food in the right texture. Both of them have their advantages and downsides. But
Compare Dyna Glo and Weber Grills: Which Is the Best for You?
Dyna Glo vs Weber is definitely at the top of the list when looking for a high-quality yet economical grill. Both brands are industry giants
Compare the Kamado Joe Classic 2 and 3 – Which is the Best for You?
Grills are the most significant part of any family who doesn’t want a device to cook the food that radiates heat downwards for cooking meals.
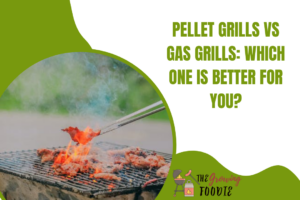
Pellet Grills vs Gas Grills: Which One Is Better For You?
We all need to grill the food in life as sometimes dry heat is needed to cook a meal and to make it even tastier.

Weber vs Char-Broil: Comparing the Best Grills for 2023
Both brands of grills are quite well-known in the market. Both Webber and char broil of a huge range of products to cater to a
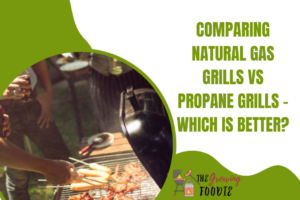
Comparing Natural Gas Grills vs Propane Grills – Which is Better?
Grilling is a major undertaking. If you’re looking for a new grill, it’s crucial to consider the pros and cons of natural gas grills vs
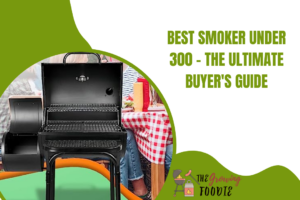
Best Smoker Under 300 – The Ultimate Buyer’s Guide
Find out the best smoker under 300 and their detailed reviews. A complete list of top-rated smokers you will ever need.
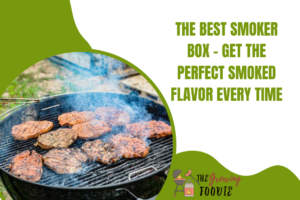
The Best Smoker Box – Get the Perfect Smoked Flavor Every Time
Find the best smoker boxes with their detailed reviews for advanced grilling and smoking techniques.

The Best Indoor Smokeless Grills – Reviews & Buyer’s Guide
Grilled food has its own class. Who doesn’t like it? Best indoor smokeless grills bring you a whole range of grills that you can choose to pick from!
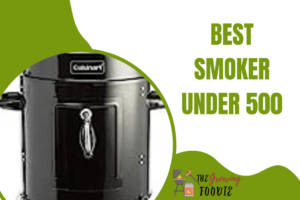
The Best Smoker Under 500 – Find the Perfect BBQ Smoker for You
As you look forward to buying your first ever smoker, find the best smoker under 500, here. Not only the best brands but you shall also learn about the features too.

The Best Smoker Under 1000: Top Picks for 2023
Smoking meat is a skill that only perfects with time. But do you know the best smoker under 1000 that can help you to achieve the best result? Find it out here.
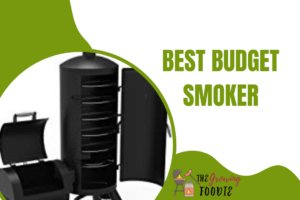
The Best Budget Smoker for Your Money in 2023
Looking for the best budget smoker? We have got you covered! The following review article and buying guide will enlighten you about the best ones.
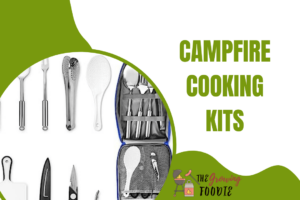
Campfire Cooking Kits: Enjoy Delicious Meals with Outdoor Cooking Gear
Find the top six campfire cooking kits and find their advantages and disadvantages along with an expert’s review.
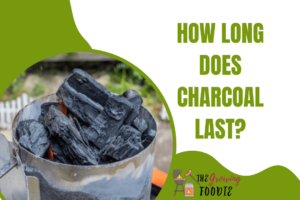
How Long Does Charcoal Last?
Are you looking forward to buying a charcoal grill and have been wondering how long does charcoal last? Let’s read further to know about it in detail.
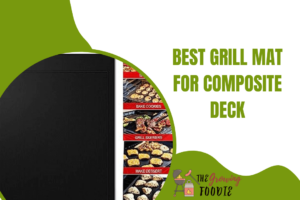
The Best Grill Mat for Composite Deck: Reviews & Buyer’s Guide
Grilling outdoors and hosting BBQ parties can be fun but indeed grilling causes accidental stains on the deck. The best grill mat for composite deck saves you from this trouble.
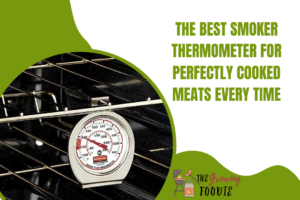
The Best Smoker Thermometer for Perfectly Cooked Meats Every Time
Who doesn’t love having a BBQ party in one’s garden backyard or while camping? Many people often do BBQ, this number goes till every weekend.
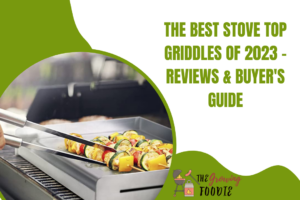
The Best Stove Top Griddles of 2023 – Reviews & Buyer’s Guide
A griddle is a cooking tool similar to a frying pan that sits on top of the stove. Nowadays, you can even get an electric
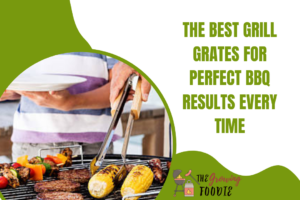
The Best Grill Grates for Perfect BBQ Results Every Time
A grill grate is the topmost part of a barbeque grill where all the food gets cooked. There is a wide range of grill grates
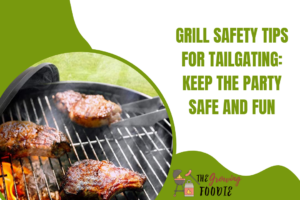
Grill Safety Tips For Tailgating: Keep The Party Safe And Fun
Are you looking for information on grill safety tips? Read this article to know about it and keep the party safe and fun while you grill some delicious menu.

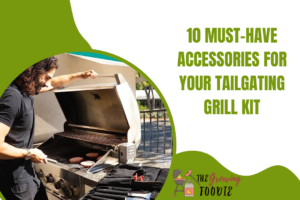
10 Must-Have Accessories For Your Tailgating Grill Kit
Are you wondering about the accessories to have for your tailgating grill kit? Read this article to find out about 10 accessories that you must have.
The Pros And Cons Of Propane vs. Charcoal Grills For Tailgating
Both Propane and Charcoal grills can serve as the best grills for tailgating. But each of these has its pros and cons too. Once you
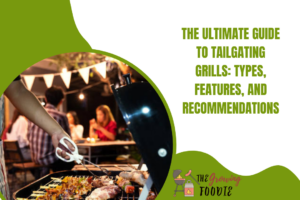
The Ultimate Guide To Tailgating Grills: Types, Features, And Recommendations
Are you looking for information on tailgating grills? Read this article to be guided about tailgating grills, their types, features, and recommendations. It is sure to help you when you choose.

Tailgating Recipe Round-Up: Grilled Snacks, Meats, And Sides
Indeed a good and balanced menu can be the soul of tailgating. Using the best grills for tailgating you can cook up a delicious menu
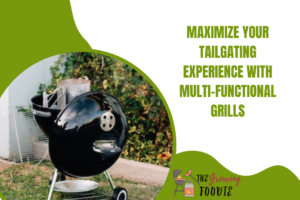
Maximize Your Tailgating Experience With Multi-functional Grills
Do you know, now you can easily maximize your tailgating experiences with the help of multi-functional grills? Read this article to learn further about it.

Tailgating Grills: Gas Or Charcoal? What’s the Difference?
Both Gas and Charcoal grills are some of the best grills for tailgating. People choose either of these two grills mostly for tailgating purposes for
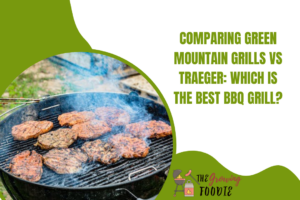
Comparing Green Mountain Grills vs Traeger: Which is the Best BBQ Grill?
Green mountain grills vs traeger debate is very popular in the market as both the companies provide excellent features in their products.